

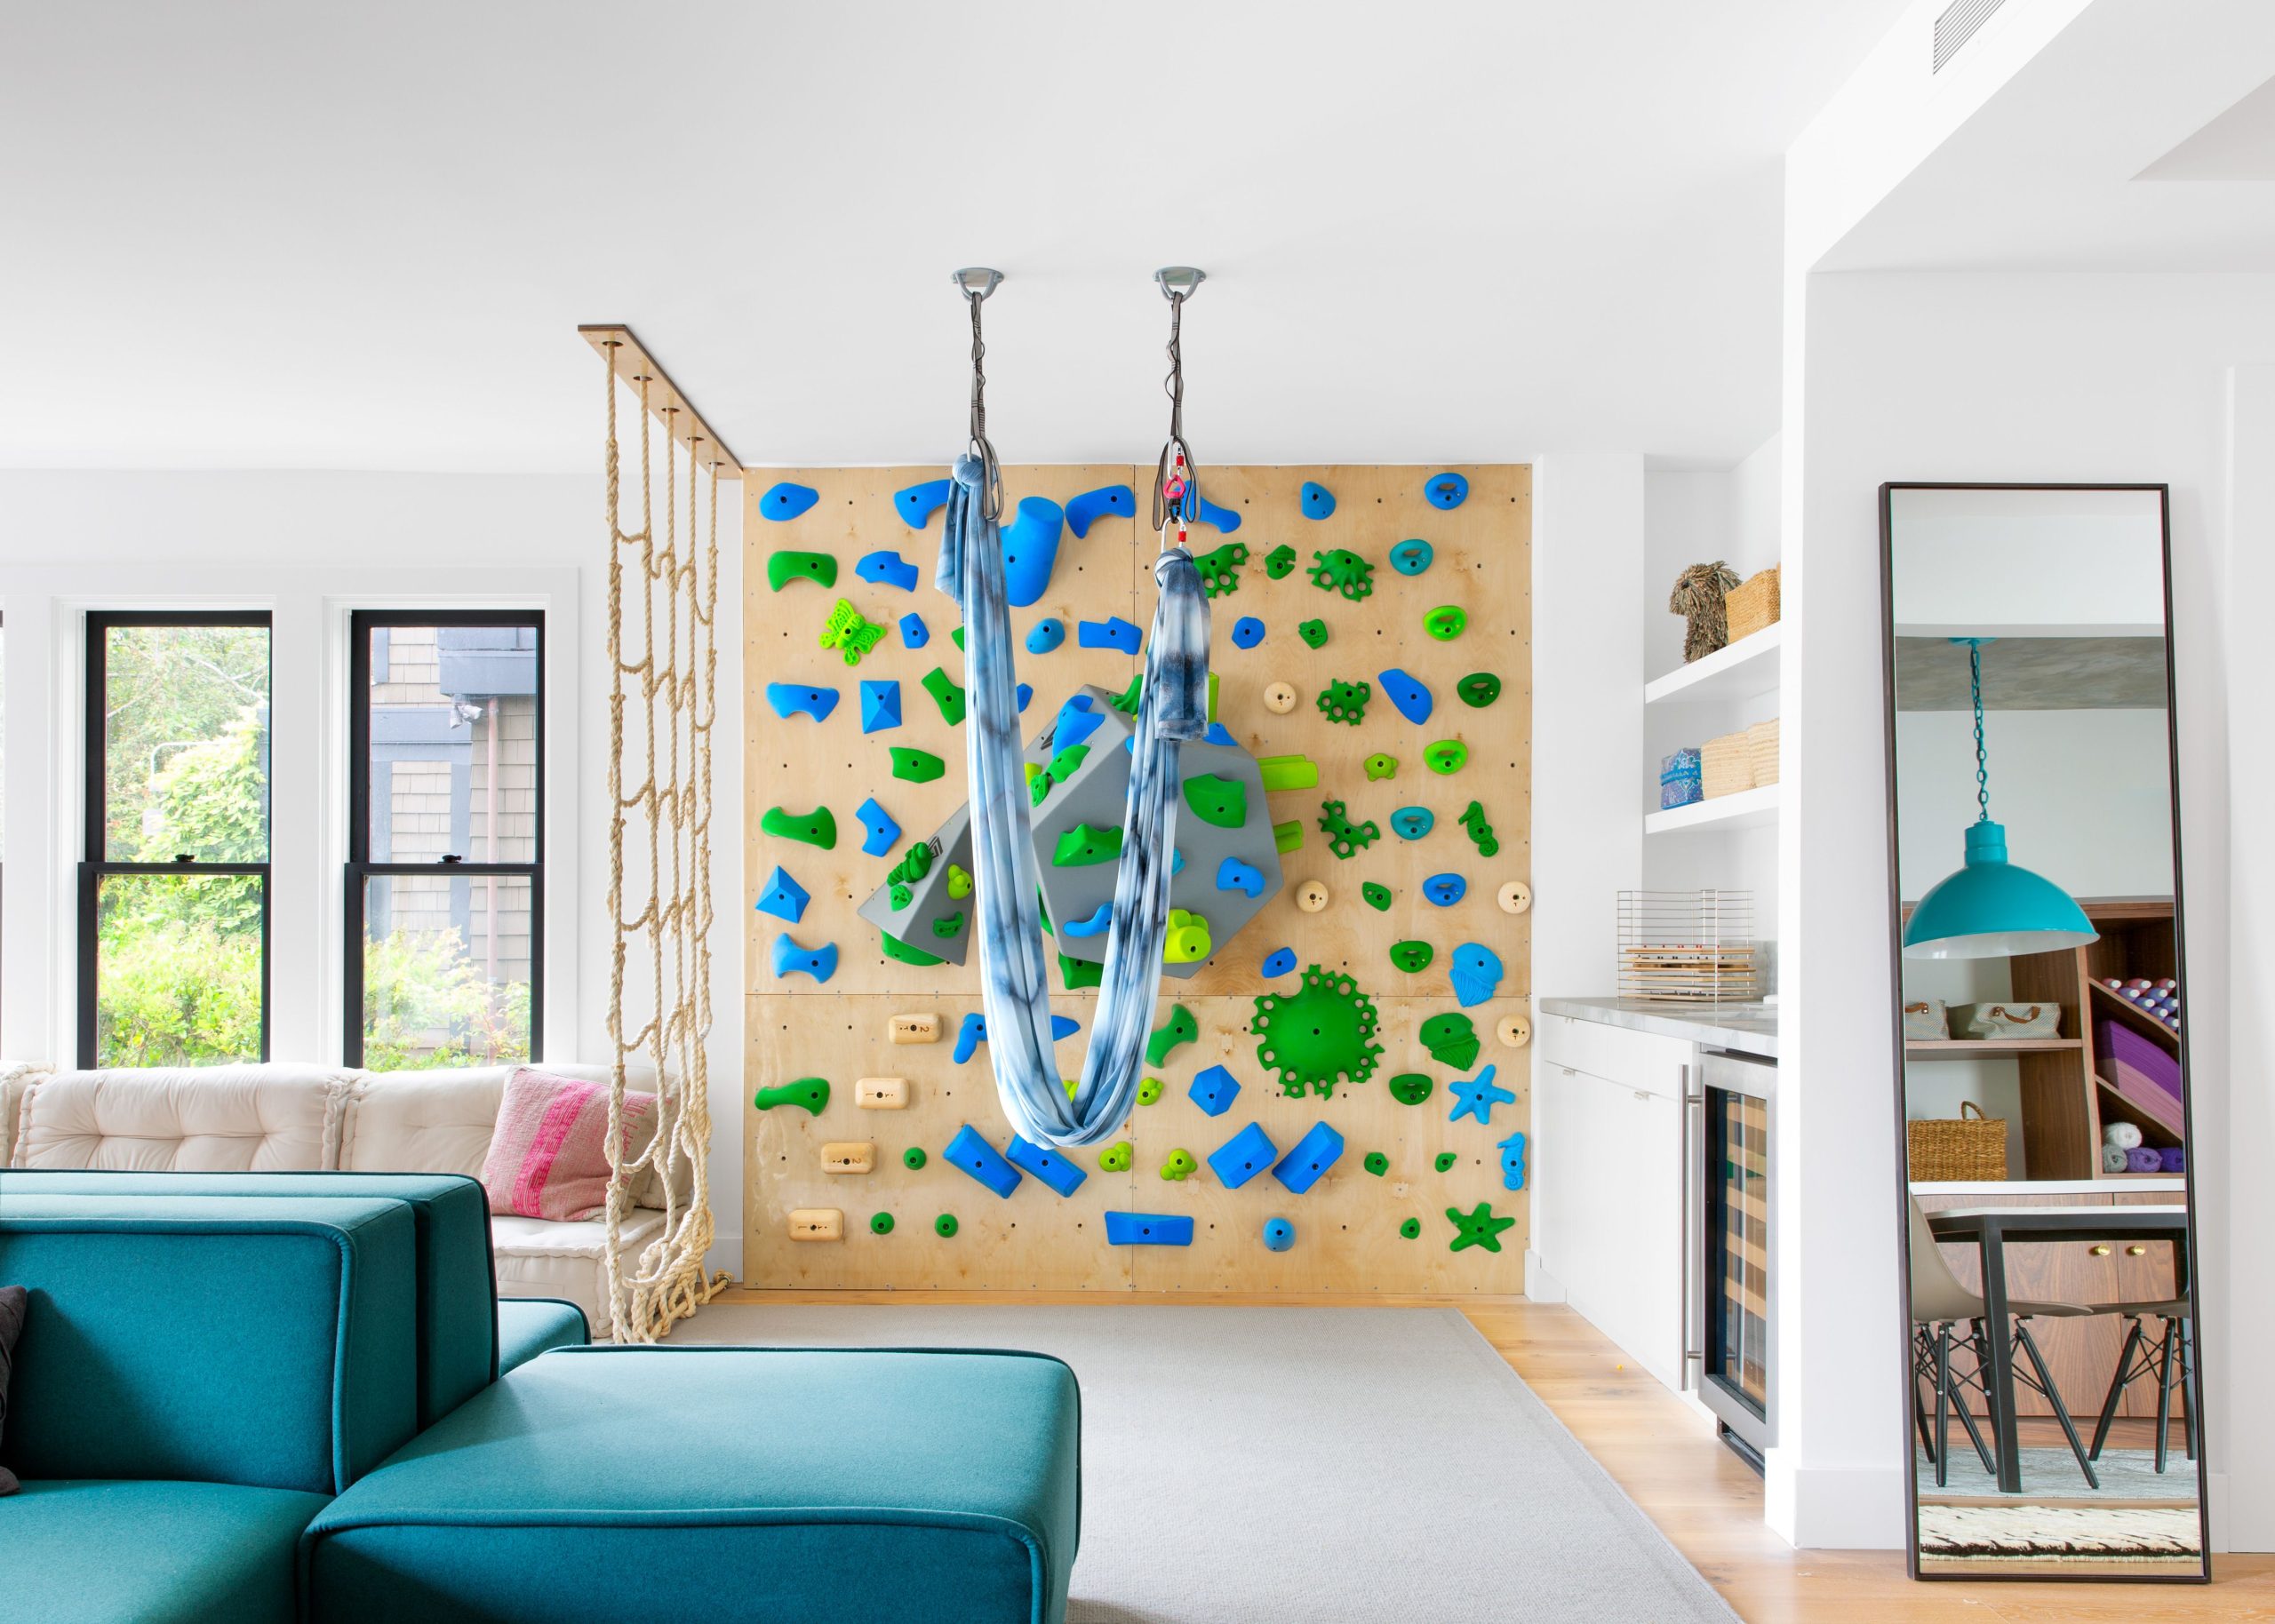
Turning your home into a personal climbing center is a rewarding project that offers endless training opportunities, physical benefits, and fun for the entire family. Whether you’re a beginner looking for a new hobby or an experienced climber wanting to sharpen your skills, a well-designed indoor climbing space can meet your goals without the need for frequent trips to a gym. Here’s a complete guide on how to plan and build your own indoor climbing center.
Step 1: Choose the Right Space
Ideal Locations
The first step is choosing a space with enough vertical clearance and structural support. Common locations include:
- Garages
- Basements
- Spare rooms
- Outdoor sheds
The minimum recommended ceiling height is about 8 feet, but more height allows for varied routes and movements.
Wall Structure and Load-Bearing
Ensure the wall you build on—or attach to—can support the weight of the climbing structure and a person falling onto it. Load-bearing walls are preferred, and additional reinforcement may be required for safety.
Step 2: Design the Wall
Wall Style Options
There are several styles to consider based on your goals:
- Vertical walls: Great for beginners and young kids
- Overhangs and roofs: Ideal for strength and endurance training
- Adjustable-angle walls: Offer flexibility for all skill levels
Design your wall with a mix of angles and features to keep training diverse and engaging.
Wall Dimensions
A typical home wall might measure 8 to 12 feet high and 6 to 10 feet wide. Tailor these dimensions to your available space and climbing objectives.
Step 3: Gather Materials and Tools
You’ll need:
- ¾-inch plywood (typically birch or maple)
- 2×4 or 2×6 framing lumber
- T-nuts and climbing holds
- Screws, bolts, and wall anchors
- Drill, saw, level, wrench
Proper framing and anchoring are essential to support climbers and equipment safely.
Step 4: Install the Wall
Building the Frame
Construct the support frame using heavy-duty lumber and securely attach it to the wall studs or freestanding base. Make sure the structure is level and stable before adding plywood.
Mounting Plywood Panels
Attach the plywood to the frame, drilling holes for T-nuts in a grid pattern. The most common spacing is 6 to 8 inches apart. Once panels are mounted, insert the T-nuts from the back.
Adding Climbing Holds
Choose a mix of jugs, crimps, slopers, and pinches to provide a variety of grips. Place holds at different heights and angles to build custom routes and simulate real climbing challenges.
If you’re aiming for a more polished and professional feel, some climbers take inspiration from designs used in commercial gyms like the centre d’escalade intérieur Vertical Bloc, known for combining performance functionality with aesthetic appeal and safety.
Step 5: Safety and Maintenance
Install Proper Padding
Use crash pads or thick gym mats to cushion falls. For bouldering walls, pads at least 4 inches thick are recommended.
Maintain Your Setup
Inspect your wall regularly for loose holds, worn-out padding, and frame integrity. Tighten bolts and replace damaged parts as needed to maintain safety.
Step 6: Customize and Train
Personalize Your Space
Add lighting, a timer, or a chalk station to make your space more inviting. You can even decorate the wall with themes or colors that motivate you.
Establish Training Routines
Set goals, log progress, and vary your routes to prevent plateaus. Training tools like hangboards or campus rungs can complement your climbing sessions.
Conclusion
Building an indoor climbing center at home is entirely achievable with careful planning, quality materials, and a focus on safety. It allows for year-round training and provides a fun, active space for the whole family. Whether your goal is to replicate a gym experience or create a personalized training zone, your home wall can bring vertical adventure right to your doorstep.
